 It was around this time last year that I fell in love with thrift shops. I was planning a 90's birthday celebration for my friend Sarah and needed to find some fabulous 90's attire. My first experience in the thrift shop was one I will always remember. It awakened all of my senses in a refreshing, nostalgic kind of way. Like when you hear a song on the radio and it reminds you of a fond memory from your childhood. Or when you smell an aroma that brings you back to a time where life was so pleasant and you didn't have a care in the world. Well that is what that first thrift shop visit was like for me, and that has been my experience ever since. Hi my name is Jackie, and I am a thrifter.
So this morning I decided to pop my little head into one of my favorite nonprofit thrift shops downtown. I like this thrift shop because it is ran by a church and 100% of the proceeds go to the homeless in the local community. Also they have great prices and very unique finds. Plus one of the volunteers has a little crush on me so he allows me first dibs at the new inventory not yet put out for sale. This morning as he was wooing me with antique unchartered territory, we came across the cutest little white night stand. I asked him how much and he said (in the creepiest voice) "for you Jackie 3 dollars", and well...the rest is history.
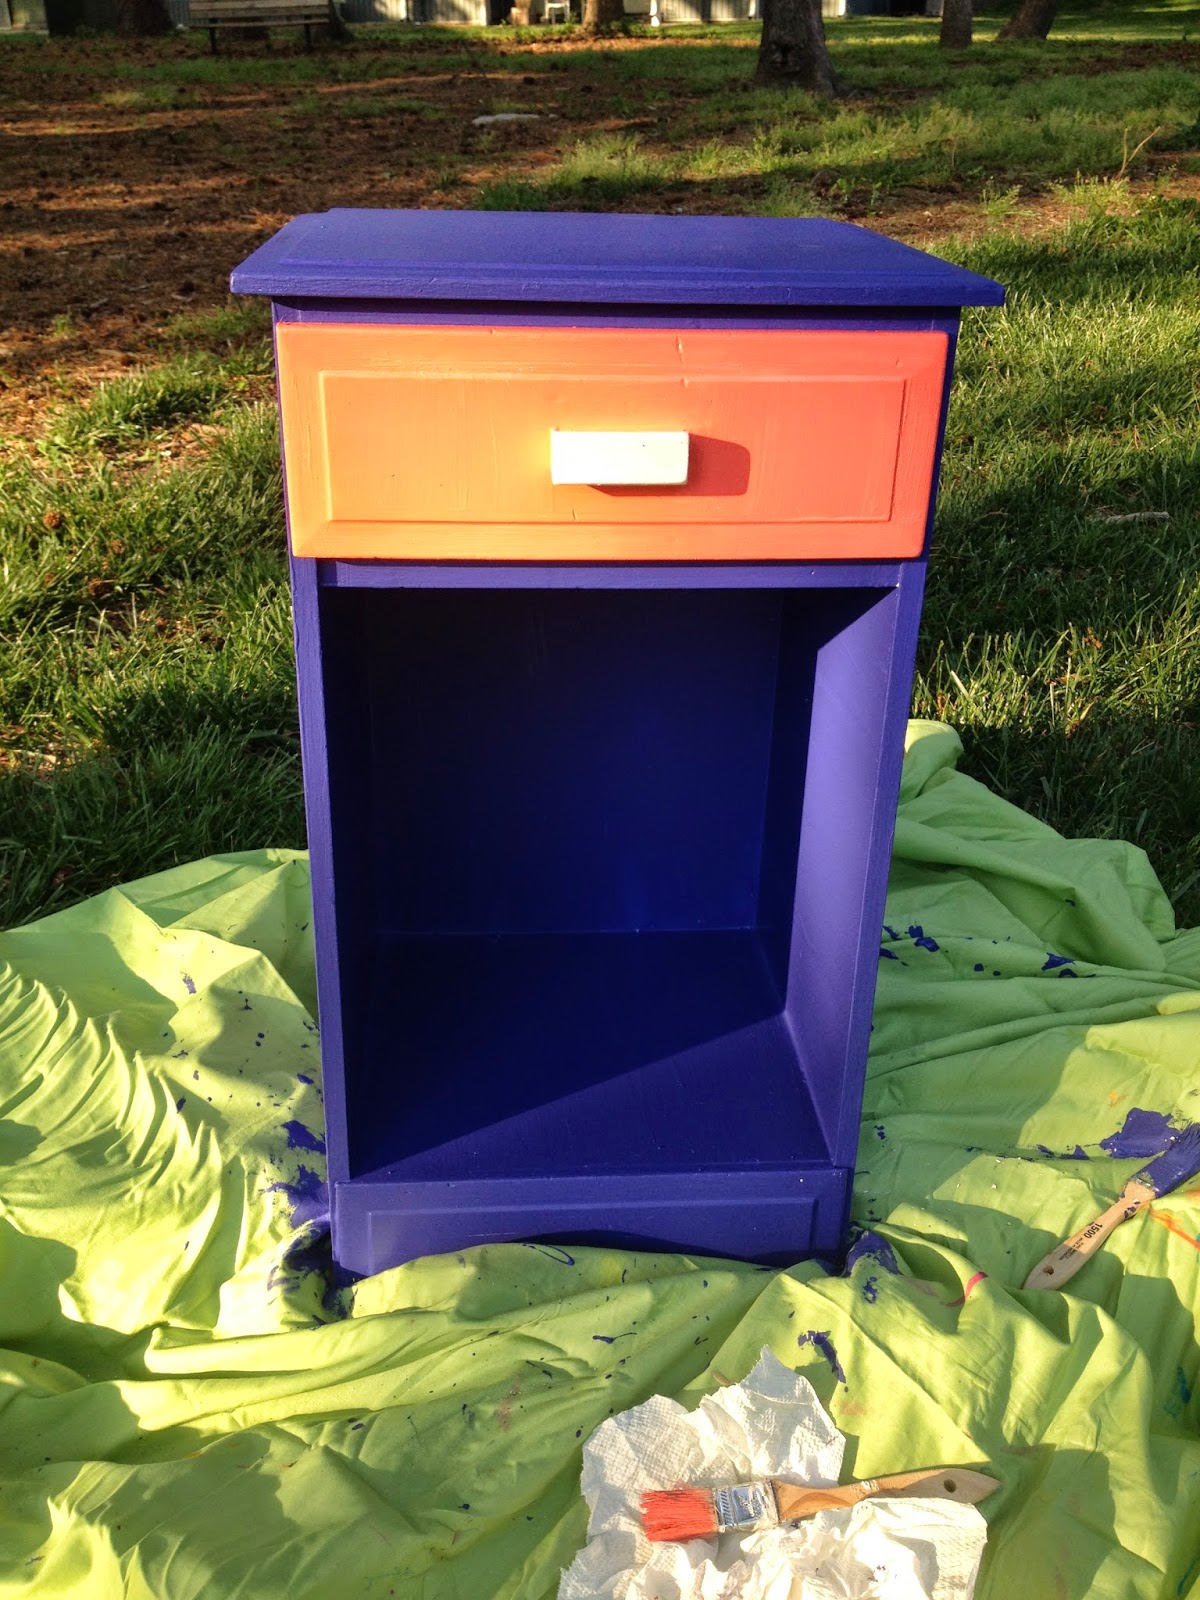
From there I went to home depot to pick up a paint sample ($2.98), and several hours later I am staring at the cutest little color block night stand I ever did see. I never really watched any tutorials on how to paint. I always just wing it and have been happy with the results thus far. I didn't bother sanding the table first because the wood was already so fine (and I was being lazy), but if it had had a thick and shiny wood finish I would have stripped it first with sand paper. The coral color on the drawer is from a small bottle of paint my friend Sarah (mentioned above) bought me for my birthday from Michaels. I imagine it cost just a few bucks.
Usually my projects are inspired by pinterest but this particular one was inspired by my other friend Sarah. (Sarahs...they love me). Every time I go to her house I am always taken aback with a new reupholstered thrifted treasure of hers. She is the reason I knew about the inexpensive paint samples that I think I could probably paint an entire wall with. I enjoy incorporating my upcycled décor into my event planning business. I plan to put this night stand in my office once Jacquelyne Edith Events, LLC finds a home. I hope this inspires someone out their or that it was at least entertaining. Until next time!
Jackie


.JPG&container=blogger&gadget=a&rewriteMime=image%2F*)

.JPG)